
Automating tasks using Automator, AppleScript and Quick Actions
In this second article in the series, we will look at automating locking and unlocking files by using a shell command and creating a Quick Action.
One can lock and unlock files through the Finder by using “Get Info” and or using shell commands in the Terminal app. But why not have that task easily available at just a mouse click away. Will do this by creating and saving a Quick Action (Quick Action as explained in the first article in this series).
Lock and UnLock Files
Let’s get started…
Go to your Applications folder, Utilities folder and launch the Automator app. When the Automator app runs, you will not see a window until you select from its menu File>New. Then you will get the following…

Select Quick Action as seen above and click choose.
On the far left, you will see the Library (categories) and just to the right of that what is contained in those categories. At the left of the Automator window, make sure Library is selected. Then at the top of the Automator window there is a search field will use to quickly get us what we need. Type “run” into the search field. No need to press enter, it should come up with a short list and including an item called “Run Shell Script”.

files and folders and “in” drop-down Finder

In the Run Shell Script action box, copy then paste in the following shell command:
chflags uchg "$@"
This is a basic Shell Command to change a setting on a file (or folder). The chflags uchg “$@” will set the file attribute to locked.
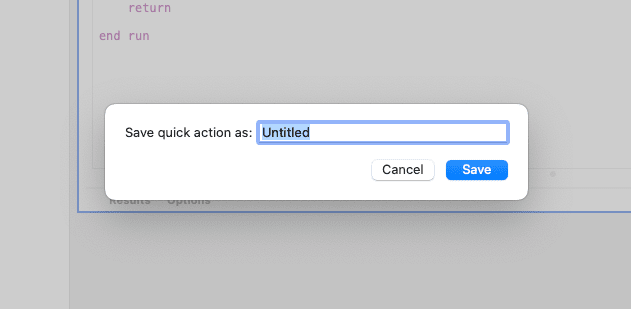
Now, you need to save it. When you go to do so, you will only get a dialog to name your Quick Action (name it Lock File). Automator already knows where to save the file and will set its system permissions correctly for it (the file will be saved to the User/Library/Services folder).
Repeat the process to make an UnLock File Quick Action however, this time use the following Run Shell Script Command…
chflags nouchg "$@"
The chflags nouchg “$@” will set the file tribute to unlocked.
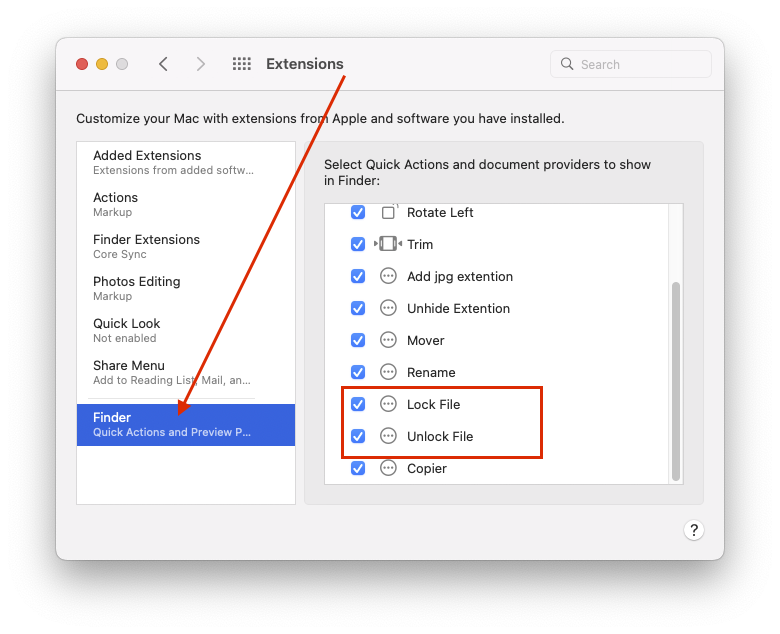
Before these Quick Actions can be available for use, they need to be enabled. Go to your System Preferences (System Settings in macOS Ventura). Click Extensions, select the Finder from the list and then tick the box for both your Lock and Unlock File actions.
In the finder, select a file or files you would like to lock (or unlock), and right-click … then choose Quick Action>Lock Files.


The file is now locked.
Next time… We will build a Quick Action I call “Mover”. See you then.
